


How to Use Kontakt 8 – Complete Beginner to Advanced Tutorial Guide
Learn how to use Kontakt 8 by Native Instruments with this complete step-by-step tutorial. Discover how to load instruments, edit samples, add effects, create custom instruments, use modulation, set up multi-output routing, and optimize performance. Perfect for beginners and advanced producers using FL Studio, Ableton Live, Cubase, or Logic Pro.

Developed by Native Instruments, Kontakt 8 is a powerful software sampler used by producers, composers, and sound designers worldwide. This step-by-step tutorial will guide you from beginner basics to advanced features.
1️⃣ Installing and Opening Kontakt 8
Install
-
Download and install via Native Access
-
Launch:
-
Standalone mode (for practice)
-
Or as a plugin (VST3/AU/AAX) inside your DAW
-
Supported in:
-
FL Studio
-
Ableton Live
-
Cubase
-
Logic Pro
-
Pro Tools
2️⃣ Understanding the Interface
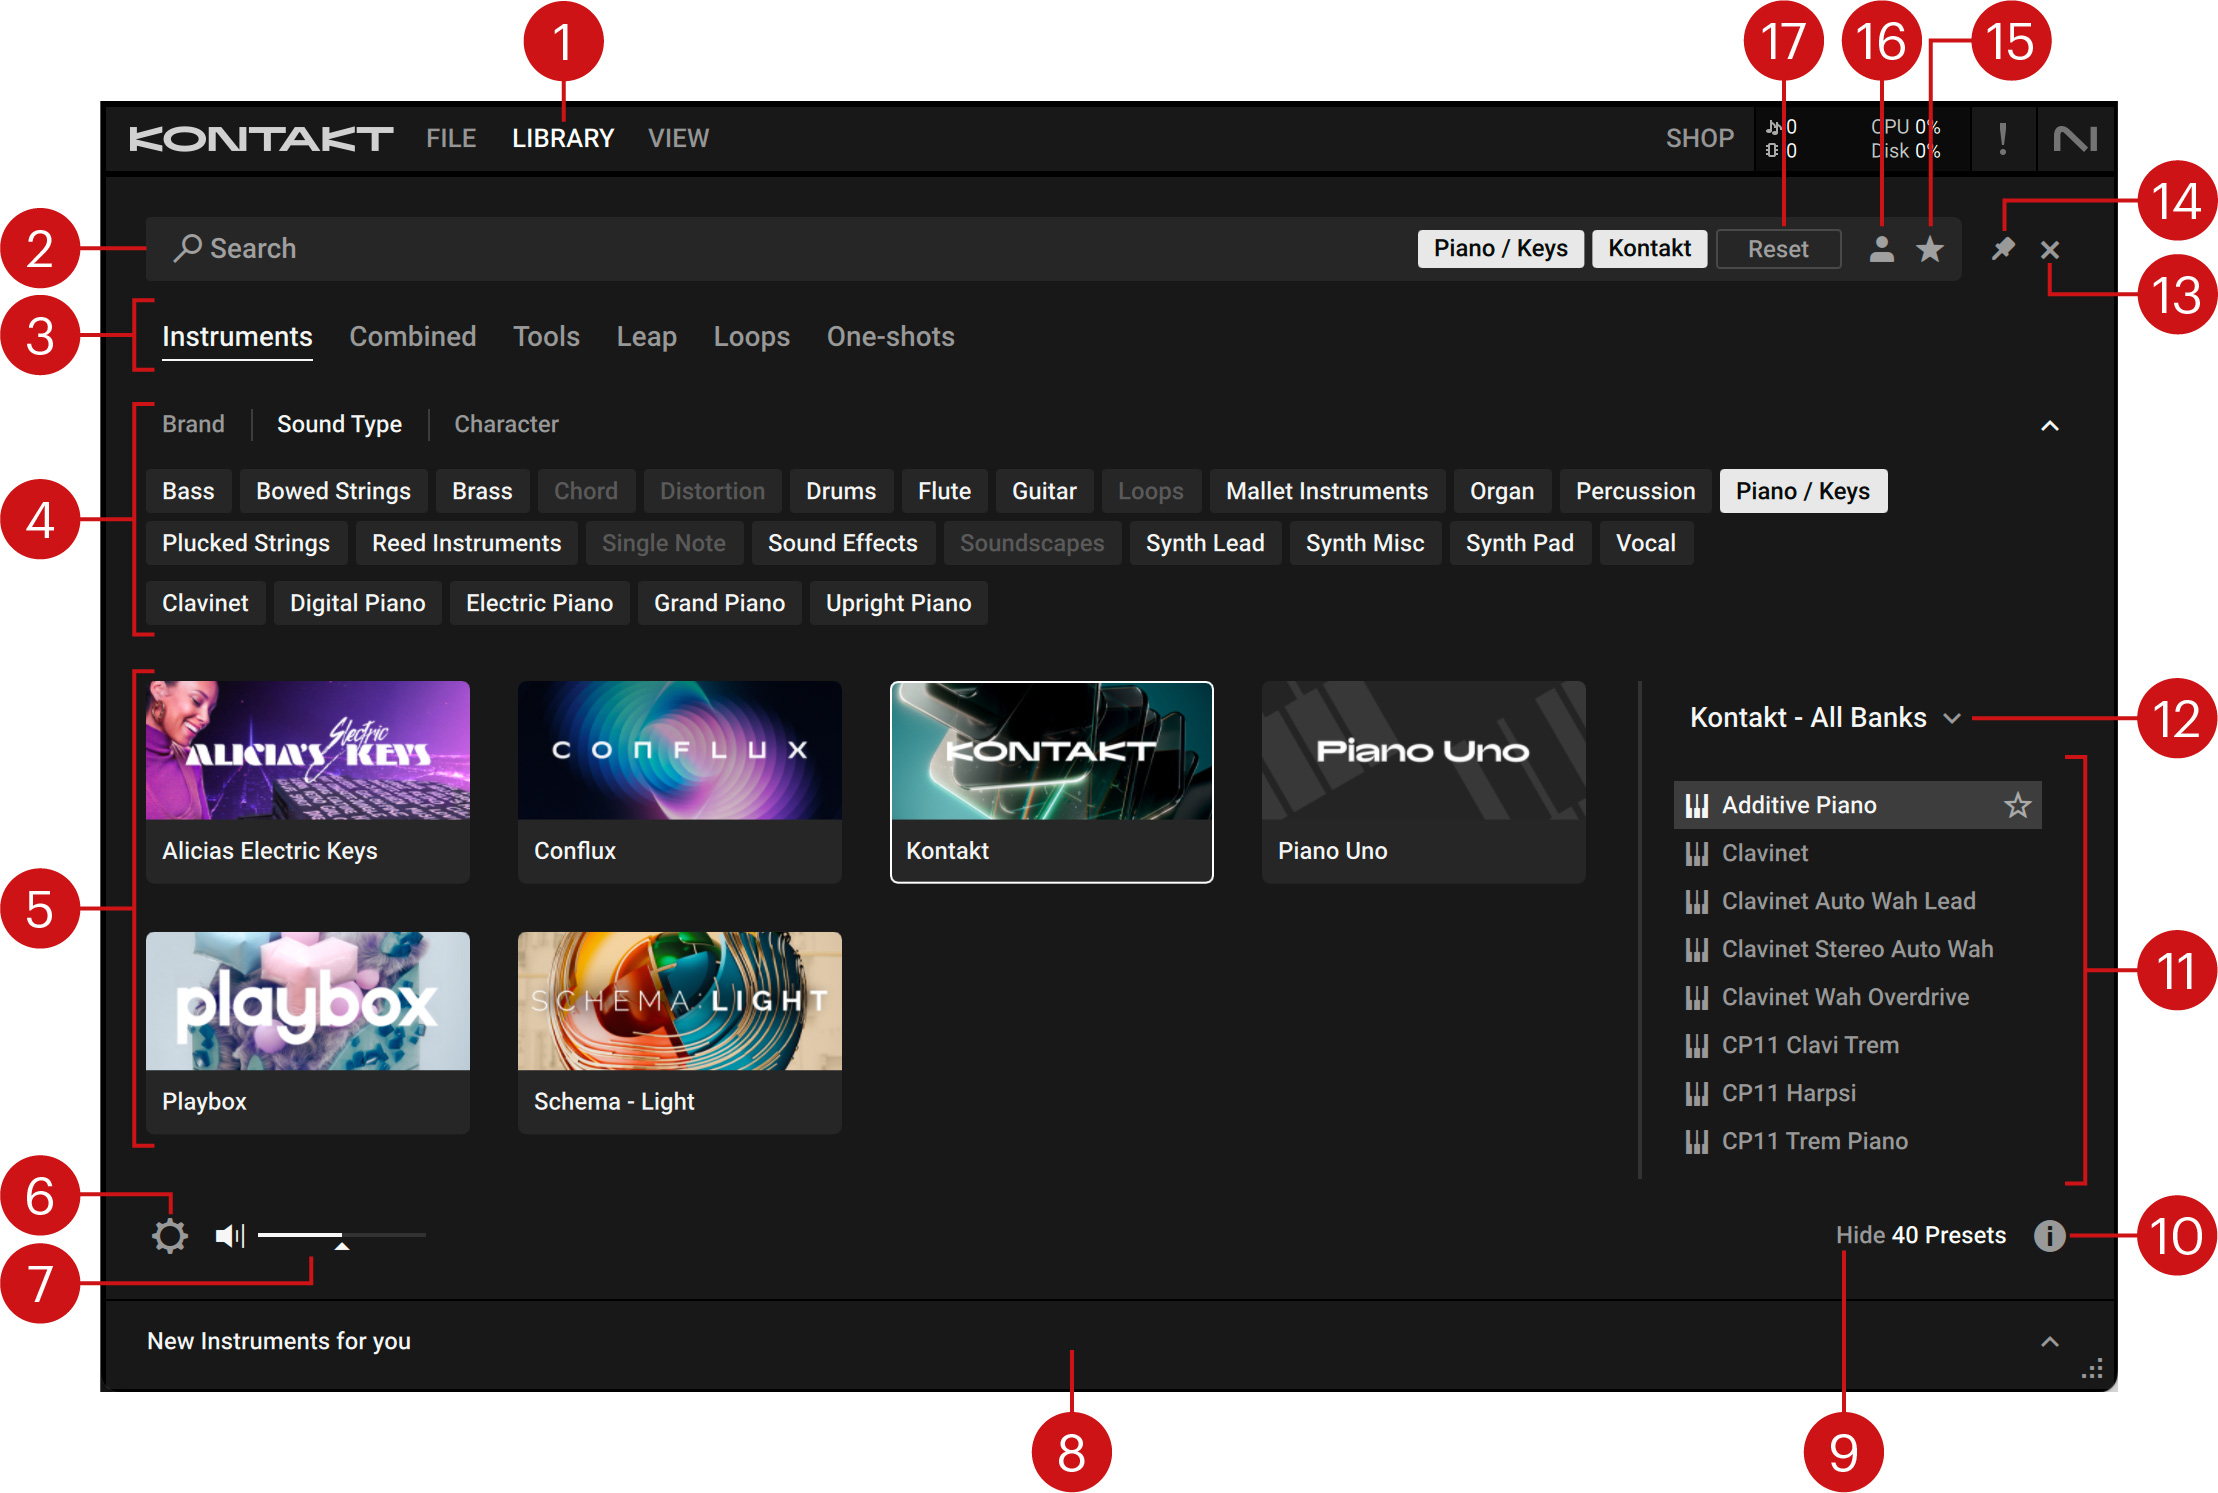
When you open Kontakt 8, you will see:
🔹 Browser (Left Panel)
-
Libraries
-
Files
-
Presets
-
Effects
🔹 Rack (Center Area)
Where instruments are loaded.
🔹 Output Section
Used for routing and mixing.
🔹 Edit Mode (Wrench Icon)
Unlocks advanced editing features.
3️⃣ Loading an Instrument
Method 1: Load From Library
-
Click Browser
-
Select a library
-
Double-click the instrument
Method 2: Load .NKI File
-
Open Files tab
-
Navigate to your instrument folder
-
Double-click the
.nkifile
Now you can:
-
Play using a MIDI keyboard
-
Adjust volume and pan
-
Apply effects
4️⃣ Exploring Instrument Structure
Click the 🔧 Wrench Icon to enter Edit Mode.
Each instrument contains:
-
Samples
-
Groups
-
Zones
-
Modulation
-
Effects
-
Scripts (KSP)
Understanding this structure helps you customize sounds deeply.
5️⃣ Editing Samples
🎹 Mapping Editor
-
Assign samples to specific keys
-
Set velocity layers
-
Adjust key ranges
✂ Wave Editor
-
Trim start/end points
-
Normalize audio
-
Create loop points
🔁 Looping for Sustain
-
Enable looping
-
Adjust crossfade for smooth playback
6️⃣ Adding Effects
Kontakt includes built-in effects such as:
-
Reverb
-
Delay
-
EQ
-
Compressor
-
Distortion
-
Chorus
-
Filters
How to Add Effects:
-
Open Edit Mode
-
Go to Insert FX
-
Choose an effect
You can also use Send FX to share effects across multiple instruments.
7️⃣ Using Modulation
Modulation allows movement in your sound.
You can modulate:
-
Filter cutoff
-
Volume
-
Pitch
-
LFO rate
-
ADSR envelope
To Assign Modulation:
-
Select modulation source (LFO/Envelope)
-
Drag and drop onto a parameter
8️⃣ Multi Output Routing (Advanced)
Useful for mixing drums or orchestral sections separately.
Steps:
-
Open Outputs Panel
-
Add new stereo outputs
-
Assign instrument to output channel
-
Route inside your DAW mixer
9️⃣ Creating Your Own Instrument
Basic workflow:
-
Drag samples into Kontakt
-
Open Mapping Editor
-
Assign key ranges
-
Add envelope (ADSR)
-
Add filter and effects
-
Save as
.nki
Pro Tips:
-
Use velocity layers for realism
-
Add round robin for natural repetition
-
Use groups for advanced control
🔟 Performance Optimization Tips
✔ Use Purge to unload unused samples
✔ Enable DFD (Direct From Disk) for large libraries
✔ Freeze tracks in your DAW if CPU is high
✔ Use Batch Resave to improve loading speed
Kontakt 8 Player vs Full Version
| Feature | Player | Full Version |
|---|---|---|
| Official Libraries | ✅ | ✅ |
| Third-Party Paid Libraries | ✅ | ✅ |
| Custom Instrument Creation | ❌ | ✅ |
| Full Edit Mode | ❌ | ✅ |
| Save Custom Instruments | ❌ | ✅ |
🎯 Conclusion
Kontakt 8 is one of the most powerful sampling tools available today. Whether you're producing EDM, scoring films, designing game audio, or creating orchestral compositions, mastering Kontakt will significantly expand your sound design capabilities.
What's Your Reaction?
 Like
0
Like
0
 Dislike
0
Dislike
0
 Love
0
Love
0
 Funny
0
Funny
0
 Angry
0
Angry
0
 Sad
0
Sad
0
 Wow
0
Wow
0


.webp)


